
Get the sword model and texture pack
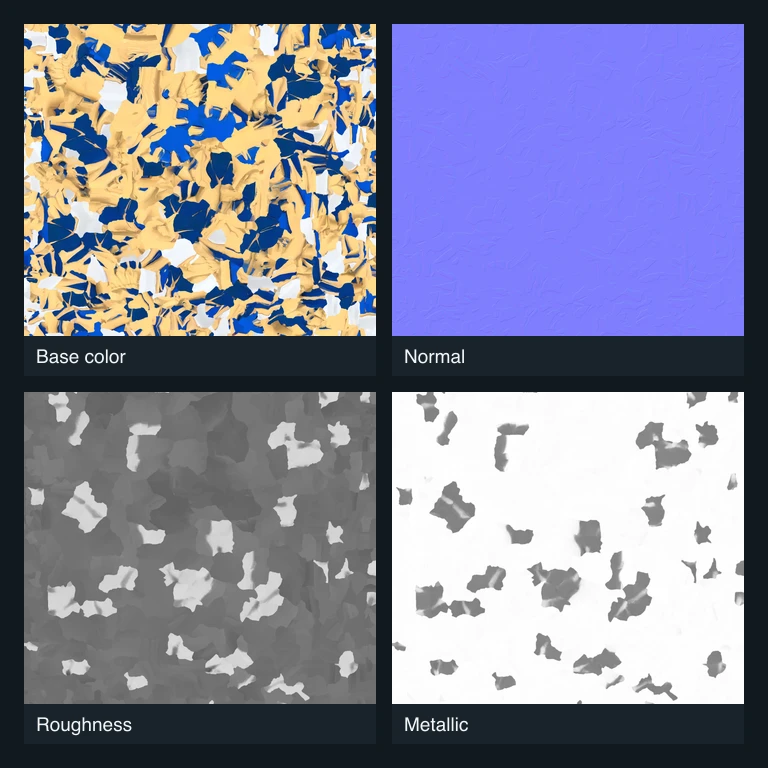
Follow this guide with a blue-and-gold fantasy sword, not the island used in the complete workflow. This practice GLB has 1 mesh, 30,000 triangles and 1 material. All four included maps are 4096 × 4096 pixels.
The original sword is a CC0 AI-assisted asset from Grab3D. Its supplied materials are retained in a lighter tutorial copy. This is a local Blender import and material-rebuild example, not a new generation submitted through AI Texture.
Download the blue-and-gold fantasy sword practice files
Matching models, reference image and maps for this guide. These are public CC0 practice assets; your account uploads remain private.
- Untextured practice model (.glb)
- Reference image from supplied materials (.png)
- Textured practice model with source materials (.glb)
- Separate texture maps (.zip)
- Texture manifest (.json)
- CC0 license (.txt)
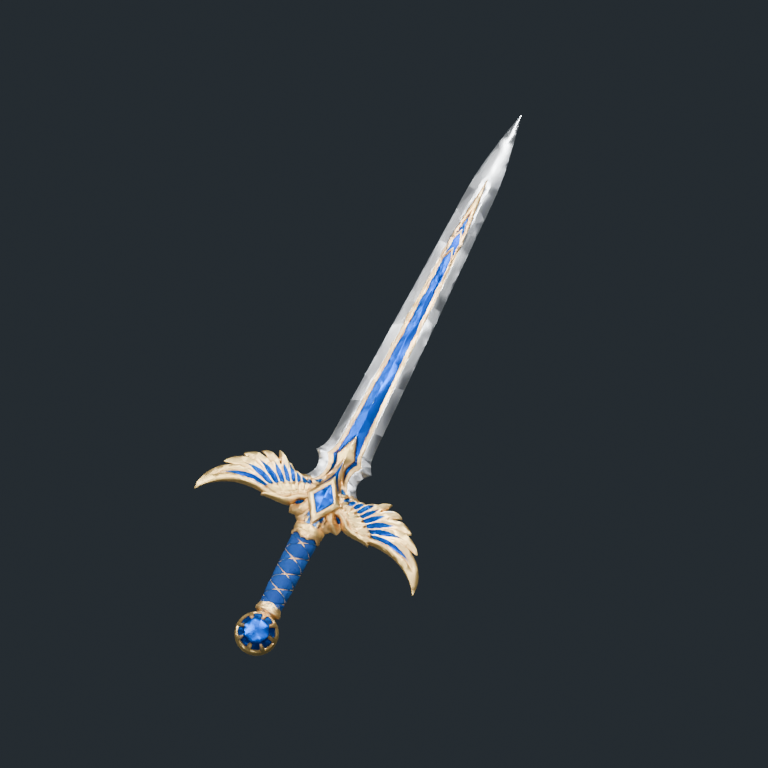
The ZIP contains maps, manifest.json and README.txt. Save the separate textured GLB as result.glb. Source and checksums · Blender verification.
result.glb              ← save the separate textured GLB with this name
textures.zip
  material-0/
    basecolor.png
    normal.png
    roughness.png
    metallic.png
  manifest.json
  README.txt
We checked the current download files in 5.3.0 Release Candidate. The verification report records the imported model and individual map checksums. Menu locations can differ in other Blender versions.
1. Import the textured sword GLB
- Open a new Blender scene and remove the default objects if you do not need them.
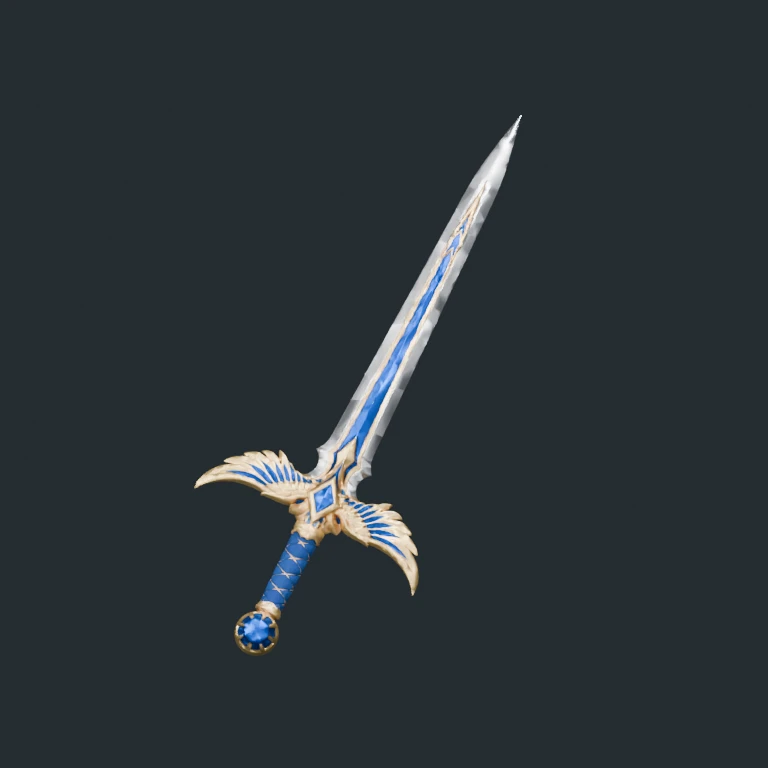
- Choose File → Import → glTF 2.0 (.glb/.gltf) and select the textured sword GLB.
- Select the sword, use Frame Selected and switch the viewport to Material Preview.
- Orbit around the blade, guard and grip. Check both sides before changing the material.
The GLB embeds its material and images. Importing the white practice file will show the white model instead. You only need to rebuild the nodes if you want to work with the standalone maps.
2. Inspect the imported material
Open the Shading workspace and select the sword’s material. Keep the glTF importer’s image, channel-separation and normal-map nodes until you understand what each one does.
Inspect the blue grip and inlay separately from the metallic blade and gold guard. Lighting can change the strength of highlights. Check the roughness and metallic connections before assuming the source colors are wrong.
This sample records base-color, roughness and metallic factors of 1, normal strength of 1, opaque alpha and a double-sided material. Read your own manifest rather than forcing these settings onto every model.
3. Rebuild the sword material from its maps
Extract this article’s sword texture ZIP. Duplicate the imported material before rebuilding it, so you can compare the result. Keep the textured sword’s UVs and material assignment.
| File | Color space | Connection |
|---|---|---|
| basecolor.png | sRGB | Image Color → Base Color |
| normal.png | Non-Color | Image Color → Normal Map Color → BSDF Normal |
| roughness.png | Non-Color | Image Color → Roughness |
| metallic.png | Non-Color | Image Color → Metallic |
Use a tangent-space Normal Map node for the normal image. The exporter records the glTF +Y convention. Do not connect the normal image directly to BSDF Normal or invert a color channel by default.
The roughness and metallic PNGs are already separated from the glTF texture’s green and blue channels. Connect each directly to its matching input instead of separating those standalone images a second time.
Check manifest.json for factors, material index, UV set, transforms, normal scale and alpha handling. This sword has one material; other assets may require a different set of maps for each material slot.
Fix common import problems
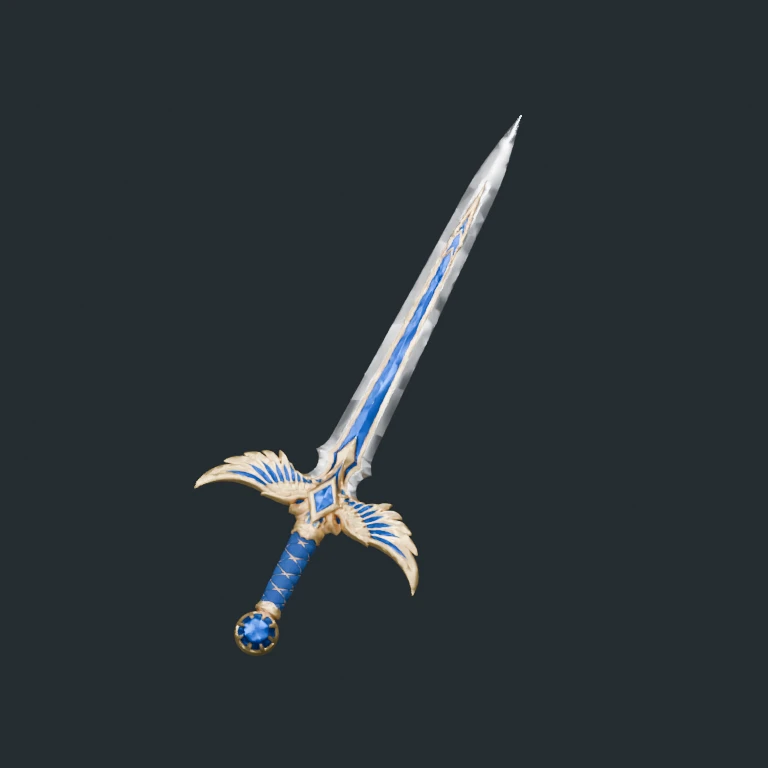
The sword looks gray
Switch from Solid view to Material Preview. Confirm that you imported the textured GLB, not the white input. Check its material slot and image nodes before assuming the maps are missing.
Blender shows pink surfaces
Pink usually means an image cannot be found. Reconnect the files from the sword ZIP. After moving a rebuilt project, use File → External Data → Find Missing Files or pack its resources before moving it again.
The blade is too shiny or the grip looks metallic
Check that the roughness and metallic maps go to their matching sockets and use Non-Color. Then compare lighting, exposure and view transform. The website viewer and Blender can display the same material differently.
The texture is misaligned
Use this sword’s GLB with this sword’s maps. Do not use the floating island’s pack or assume another model has the same UVs. Check the material index, UV set and any transforms recorded in the manifest.
Before a game-engine handoff
Save a Blender copy and keep the original source. The tutorial sword was reduced from 300,010 to 30,000 triangles for this guide. That triangle count is a practice-file choice, not a guarantee that it meets your game’s budget.
Check scale, orientation, texture memory, shader support and required channel packing in your target engine. AI-assisted materials and a successful Blender import do not validate LODs, collision meshes, rigging or runtime performance.
To practice generating a new appearance first, return to the floating-island AI texturing workflow. Its inputs and downloads are separate from this sword example.
Try this with your own model
Preview your file locally, choose an appearance and check the generation cost before submitting.
Open the AI texture generator